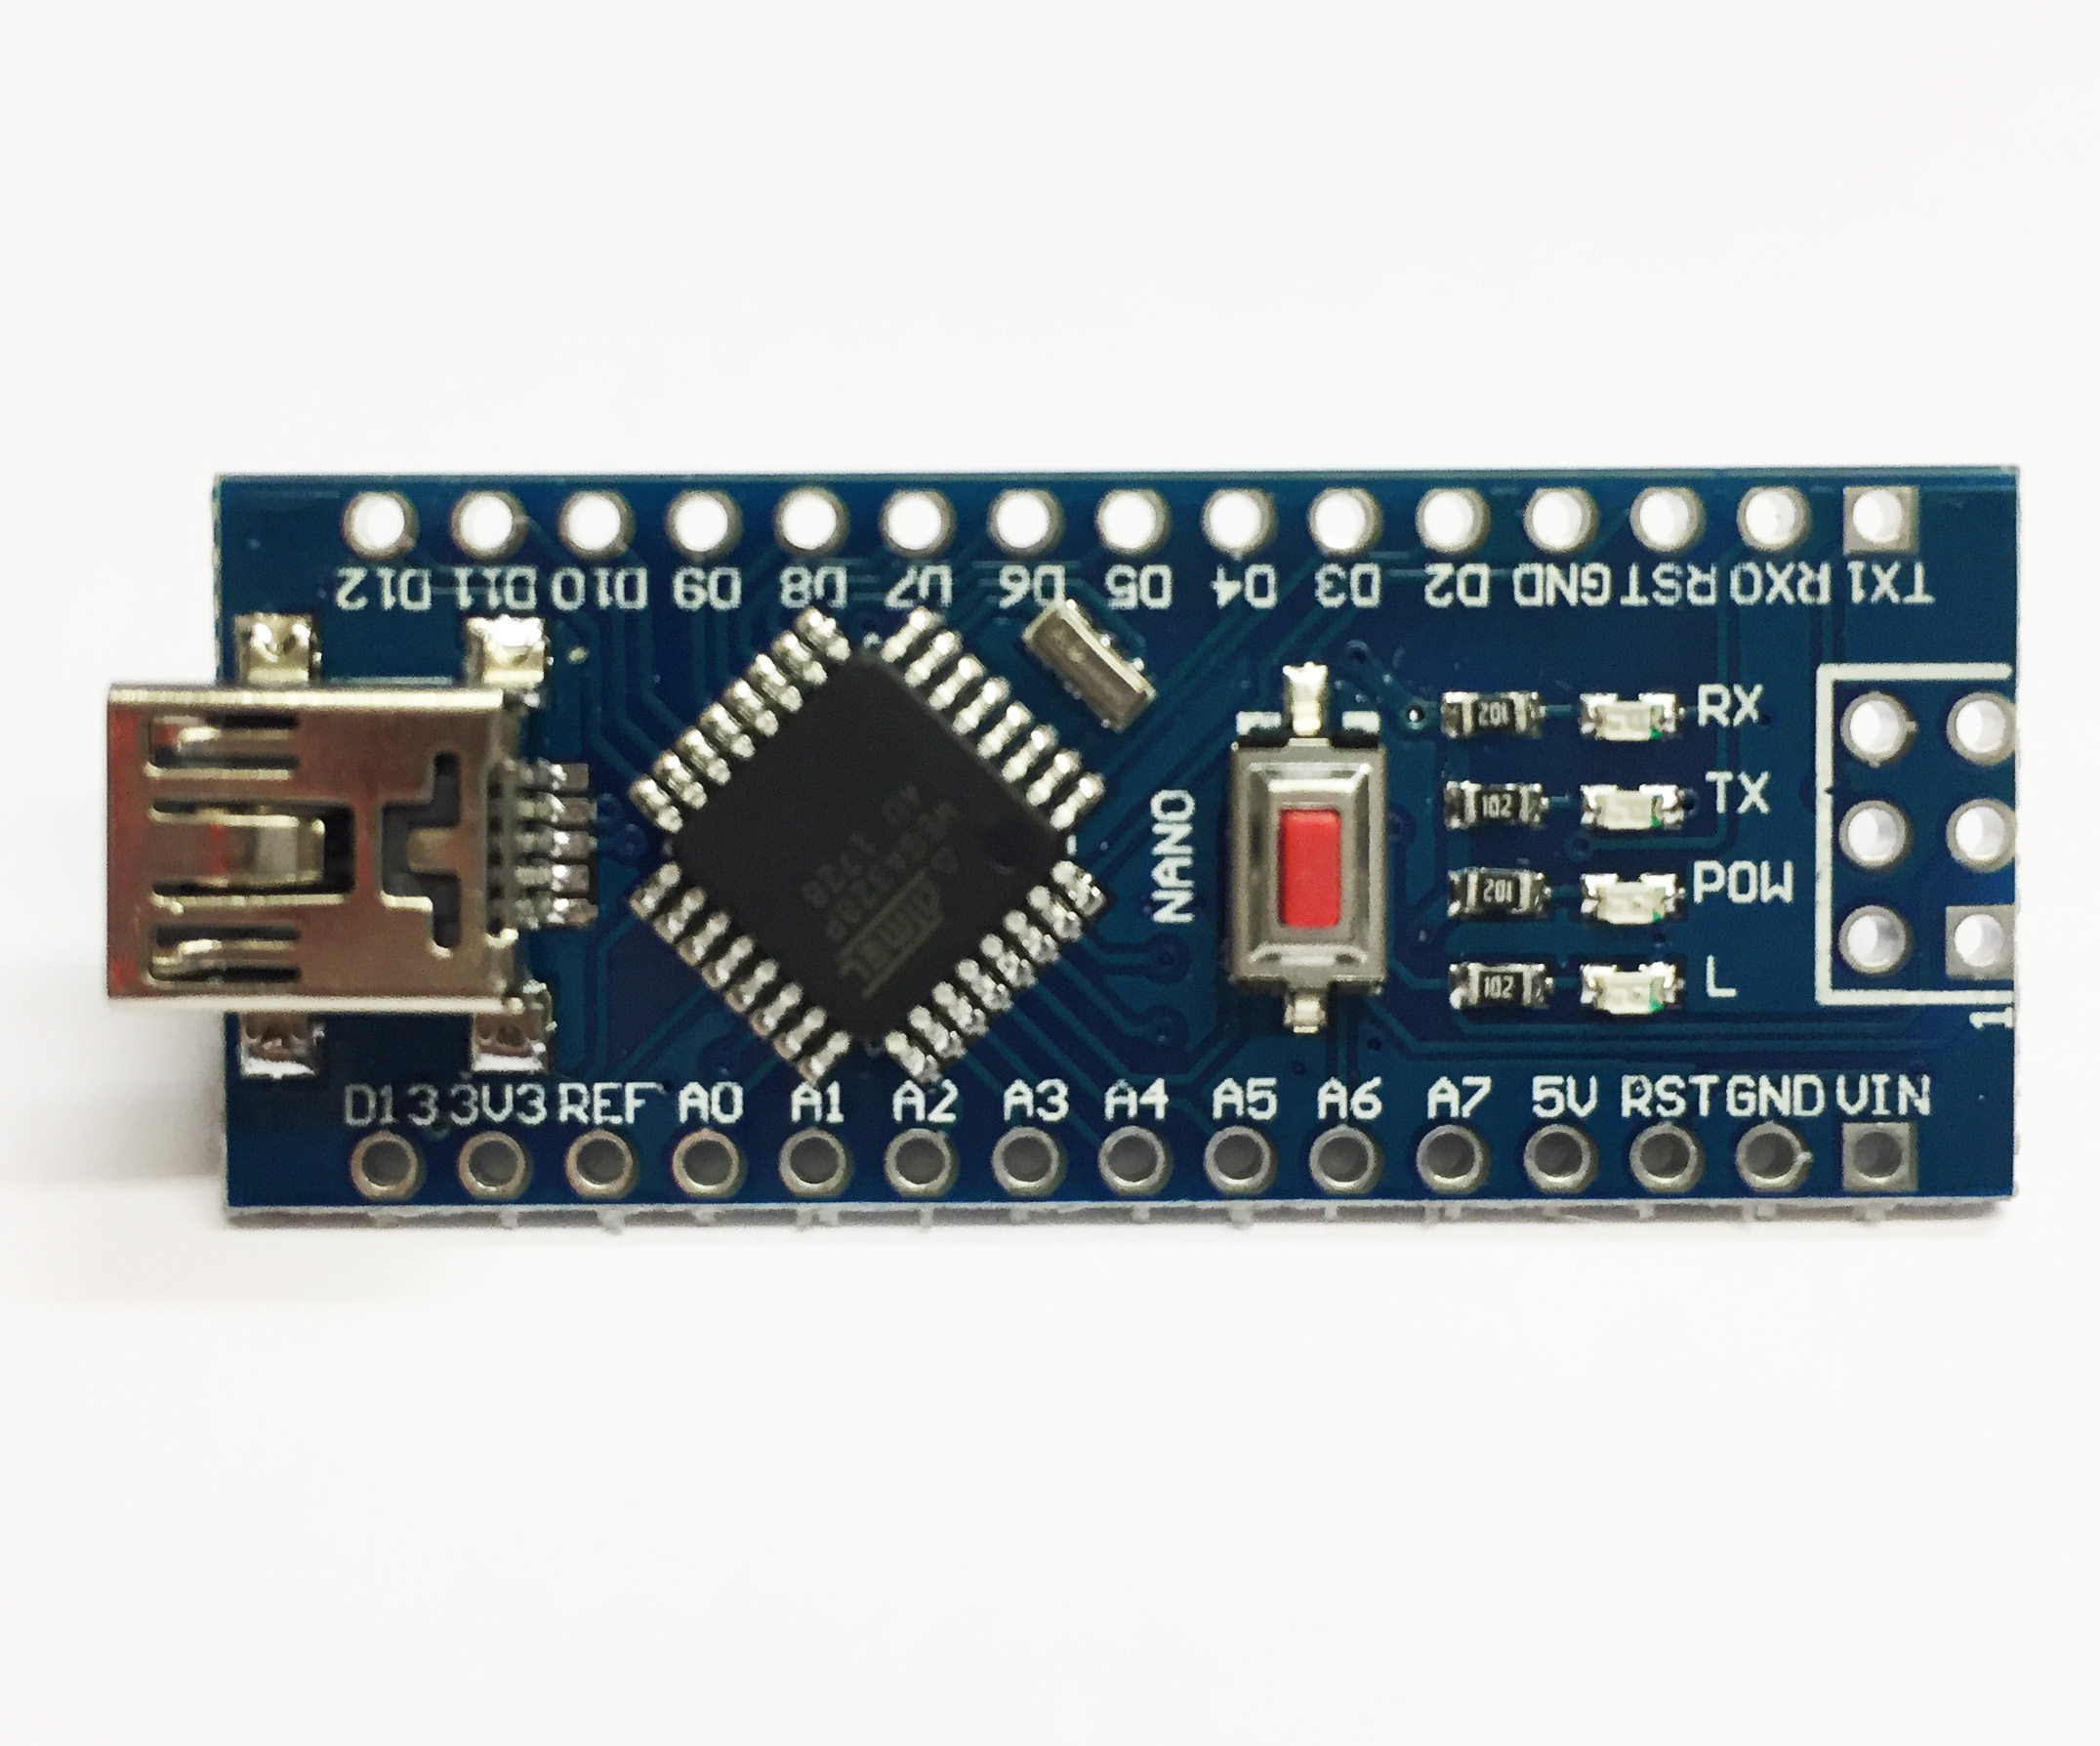
Arduino compatible board with the ATMEGA328P microcontroller
The Arduino Nano is a small, breadboard-friendly version of the Arduino UNO.
It has the same functionality as the Arduino Duemilanove but at a much smaller size.
The Arduino Nano is well suited for rapid prototyping and as a great general-purpose microcontroller.
Since Arduino is open source hardware & software, anyone can copy the Arduino Nano boards exactly, even using original parts.
We are therefore able to supply this Arduino identical compatible board at a fraction of the cost of the original.
Key Features
Variable Input Voltage (7-12V)
Indicator LEDs for immediate feedback
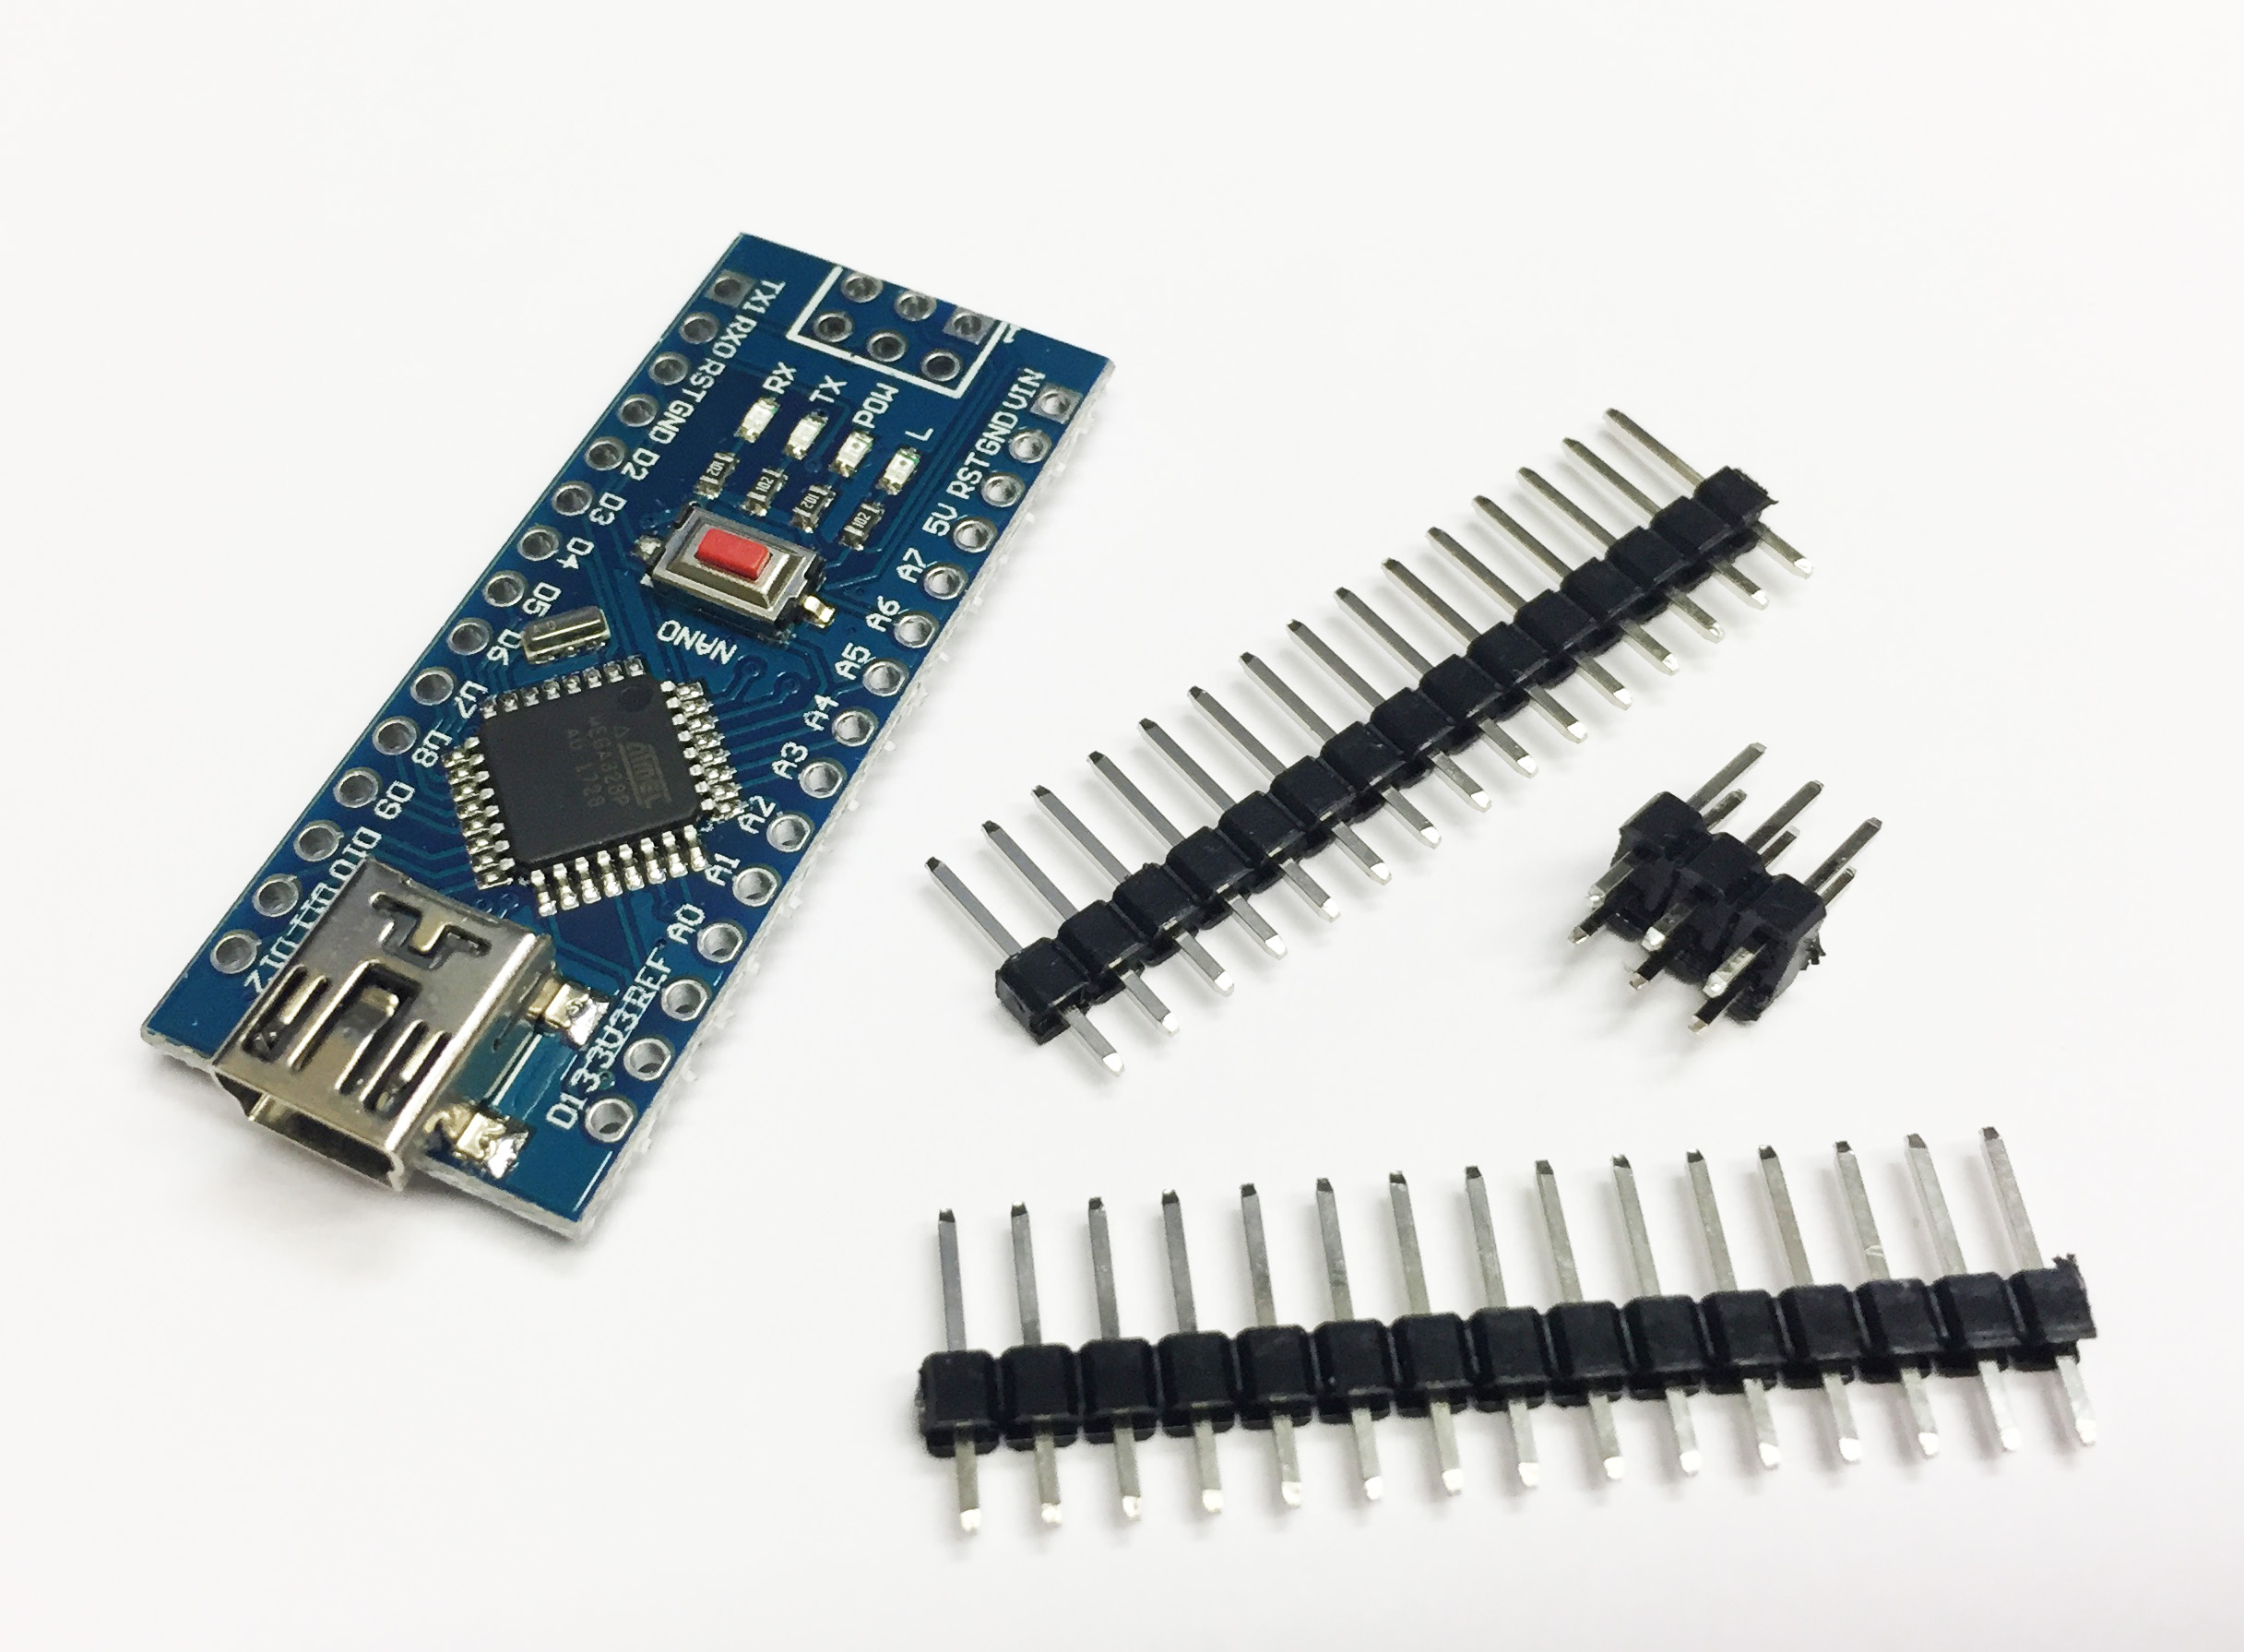
Compact Form Factor (45mm x 19mm)
14 Digital I/O pins
8 Analog I/O pins
16 MHz clock speed
32kb flash memory (of which 2kb is used by the bootloader)
Software can be downloaded from the Arduino website here
https://www.arduino.cc/en/Main/Software
Arduino Quick Start Guide
Installing the Arduino IDE
-
Go to arduino.cc/en/software and download the appropriate version for your system.
-
Run the installation file (usually called arduino-1.xx.xx-windows.exe).
-
Follow the on-screen instructions to complete the installation process.
Connecting the Arduino to a computer
-
Connect the Arduino to your computer using a USB cable.
-
Open the Arduino IDE and click on “Tools”. When prompted by windows firewall click allow.
-
Move the cursor over “Board” and select your Arduino board from the list (e.g. “Arduino Nano”).
-
Click on “Tools” again and move the cursor over “Port”. Now, select the USB port where the Arduino is plugged in. If you have multiple devices under “Ports” and you are unsure which one is the Arduino, try selecting one of the ports and then click on “Tools” and select “Get board info”. If the Arduino port is selected, a small window displaying the board information will appear, otherwise keep trying different ports until the window appears.
-
To check if the Arduino is connected correctly, click on the “Upload” button at the top of the screen (button with arrow pointing to the right) and wait for the empty sketch to upload. If no errors come up, you’re all set up and ready to go!
Installing Arduino Libraries
Method 1
-
Open the Arduino IDE and click on “Tools” at the top of the screen.
-
Click on “Manage Libraries”.
-
Type in the name of the library you wish to install (e.g. “CCS811”) and press enter.
-
The Library Manager will now display a number of relevant libraries. Hover the cursor over the required library and click “Install”. When the installation has finished, close the Library Manager window.
Method 2
-
Download the library you wish to install.
-
Extract the folder from the zip file and paste it in the following location:
Windows XP and above: C:\Users\%username%\Documents\Arduino\Libraries
Mac: /Users//Documents/Arduino/libraries/
Linux: /usr/share/arduino/libraries/ (you must delete the dashes in the folder name, if there are any)
-
Restart the Arduino IDE.
|
 - Cricklewood Electronics")


 Pitch Header Socket")
 Pitch Header Socket")


")
