0
£0.00
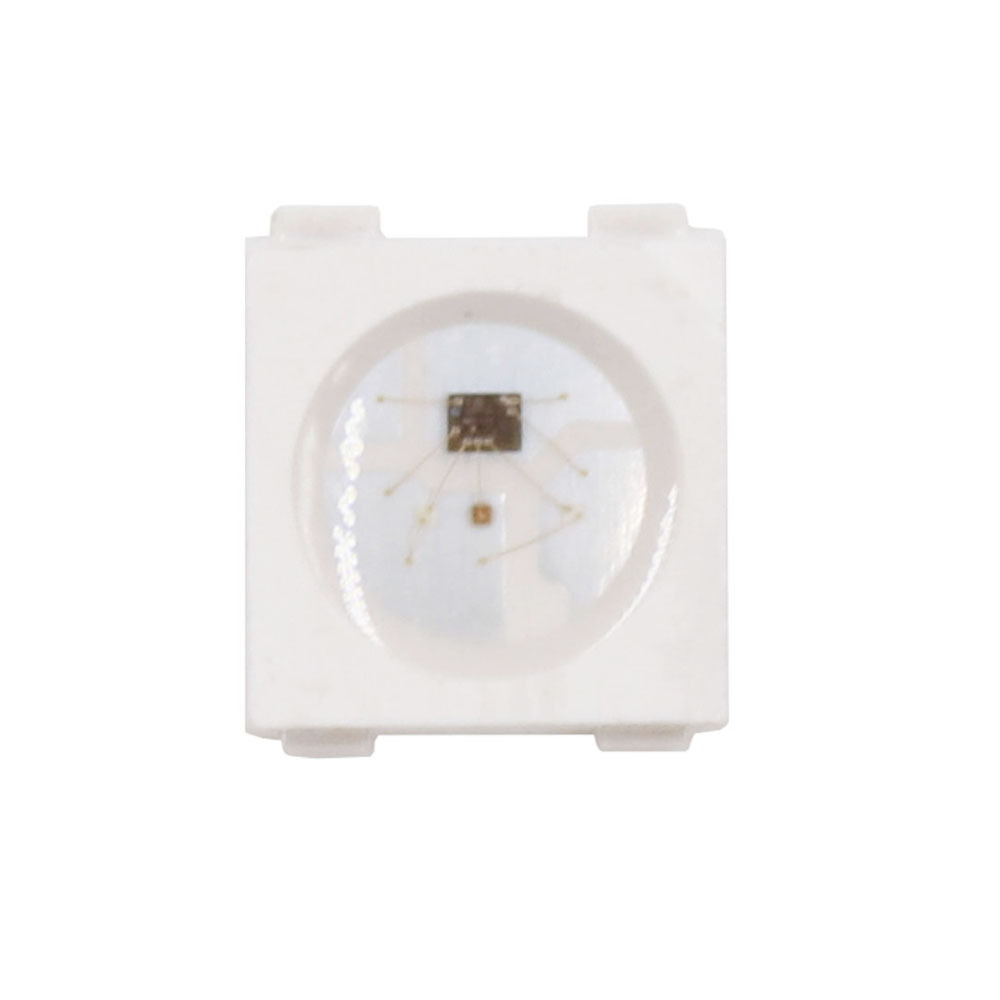
WS2812B High Brightness Individually Addressable RGB LED
WS2812B SMD High Brightness Individually Addressable RGB LED
The WS2812B is a smart RGB (Red, Green, Blue) LED module that is capable of displaying up to 16,777,216 colours at 256 different levels of brightness per LED. Each LED can be controlled individually using a microcontroller (e.g. Arduino, NodeMCU).
The LEDs are sold individually on SMD tape.
Specifications: SMD Package Type: 5050 Supply Voltage: 3.5 - 5.3V DC |
Customers Also Bought
Categories
-
CCTV & Security
- Analog CCTV Cameras (BNC)
- IP CCTV Cameras (Network Cameras)
- CCTV DVRs (Analog Recorders, BNC)
- CCTV NVRs (Network Video Recorders)
- CCTV Systems Analog (BNC)
- CCTV Systems IP (Network)
- CCTV Monitors
- CCTV Accessories
- Hidden HD CCTV Cameras
- Hard Drives, USB Flash & Micro SD Cards
- Wireless & Smart Door Bells
- CCTV Warning Signs
- CCTV Clearance
- New Products
- Hobby Electronics (Maker)
- Amplifiers, Pre-amps, Equalisers, Mixers & Gadgets
- Batteries, Holders and Battery Chargers
- Belts - Rubber Drive Belts
- Boxes, Enclosures & Cabinet Feet
- Brackets for Flat Screen TVs & Monitors
- Buzzers, Sounders & Ultrasonics
- Cable, Wire & Cable Accessories
-
Capacitors and Accessories
- Audio Polypropylene Capacitors by Monacor
- ALCAP & Other Bipolar Axial Audio Electrolytics
- Electrolytics, Radial 105 deg
- Electrolytics, Low Impedance
- Electrolytics Axial
- Electrolytics, Cans (Snap Fit & Tags)
- Electrolytics Miniature
- 0805 Ceramic Surface Mount (SMD)
- Electrolytics, SMD (Surface Mount)
- Electrolytics, 85C Radial - a few values left
- Ceramic Disc Capacitors 63VDC 5%
- Ceramic Monolithic Capacitors 50V
- Ceramic Disc Capacitors 500VDC
- Ceramic High Voltage Capacitors 1KV+
- Polyester 5mm Boxed Capacitors 63V 5%
- Metallised Polyester (Orange Drop)
- Motor Capacitors 450VAC Polypropylene
- Polyester Film also known as Mylar Film
- Polyester Stacked Foil Capacitors 100VDC 5%
- Polyester Stacked Foil 250V & 400VDC 5%
- Polyester Axial Audio Capacitors
- Polystyrene Capacitors 10pF to 68nF
- Polypropylene 1%, High Stability. Audio Grade
- Polypropylene Axial Capacitors 1000VDC and Higher
- Polypropylene Mains X2-Rated Radial Capacitors
- Polypropylene Metallised Film 1600VDC 650VAC
- Polypropylene Metallised Film 2000VDC 700VAC.
- Tantalum Bead Capacitors
- Trimmer (Variable) Capacitors
- Feed Through Capacitors 1nF
- Plastic Capacitor Clips
- CD & DVD Laser Mechanisms
- Computer Accessories
-
Connectors: Plugs, Sockets & Adaptors
- Adaptors: Audio & RF
- Banana Plugs & Sockets 4mm
- BNC Connectors. Cable or Chassis
- Bulgin Multipole Connectors
- Car Plugs & Sockets
- Coaxial Connectors
- Crimp Terminals
- Crocodile Clips (Alligator Clips)
- D Connectors (D sub) & Gender Changers
- DC or AC Low voltage Power Connectors
- DIN Plugs & Sockets, Cable or Chassis
- Jack Plugs & Sockets 6.3mm, 3.5mm & 2.5mm
- Mini DIN Plugs & Sockets
- Mains Connectors (IEC Euro)
- F & N High Frequency RF Connectors & Splitters
- HDMI Connectors and Adaptors
- IC Sockets Dual and Single In Line
- Microphone Connectors Multi pin (Yaesu)
- Modular Connectors (RJ11, RJ12, RJ45 etc)
- PCB Terminals
- Phono (RCA) Plugs and Sockets & Spitters
- Pin Headers & Pin Jumpers
- Scart Connectors & Adaptors
- SMA Gold Plated RF Connectors
- Speakon (Speaker Plugs) Neutrik
- Terminal Strips (Choc Block)
- UHF Connectors (PL259 & SO239 etc)
- USB Connectors and Adaptors
- Wallplates for Audio,Video & TV
- XLR Plugs & Sockets
- Crystals (Quartz) & Ceramic Resonators
- Electrical Connectors (Mains)
- Fans, Heatsinks & Thermal Protection
-
Fuses & Fuse holders
- Fuse Holders
- 20mm Glass Antisurge Fuses - Packs of 10
- 20mm Glass Quick Blow Fuses - Packs of 10
- 20mm Ceramic Quick Blow Fuses - Packs of 10
- Mains Fuses 25mm (1 Inch) Ceramic
- 32mm (1.25 Inch) Glass Anti Surge Fuses - Packs of 10
- 32mm (1.25 Inch) Glass Quick Blow Fuse - Packs of 10
- 32mm (1.25 - Inch) Ceramic Fuses - Packs of 10
- Axial Fuses Quick Blow Solderable
- Microwave Oven Fuse with Cable, 5KV
- IC Protectors
- Fuse Kits
- Radial Fuses Antisurge (Time Delay)
- Radial Fuses Quick-Blow (Fast)
- Thermal Fuses
- HDMI, VGA, Video Converters & Switches
- Headphones
- House & Home
- Inductors & Ferrite
- Insulating Tape
- Knobs
- Lamps (Miniature Indicator)
-
Leads - Cables with Plugs & Sockets
- BNC Leads
- HiFi Audio Leads: Phono RCA, Mini Jack, DIN etc
- Pro Audio Leads (Mic, Guitar, Instruments (Jack, XLR, Speakon etc)
- VGA, RCA Phono & Video leads for Monitors, CCTV, TVS, DVRs etc
- Scart Leads
- HDMI Leads
- Network Cables CAT6, CAT5, RJ45 Leads
- Power Leads (Mains & Low Voltage)
- Telephone & Modem
- Coaxial Leads (TV & FM Fly Leads)
- USB Leads
- SMA Leads for Mobile Phones, Wifi, RF etc.
- Fibre Optics (Toslink)
- Lighting LED & Old Technology
- Microphones, Accessories & Music Stands
- Musical Electronics
- Nuts Screws, Washers & Springs
- Opto Electronics inc LEDs, Opto Couplers, IR LEDS etc
- PCB, Stripboard, Matrix Boards, Tagboards & Breadboards
- Power
- Power Supplies, Power Adaptors & Chargers
- Relays
-
Resistors Fixed, Thermistors & Resistors
- 1/8W 0.125 Watt 5% Mini Carbon Resistors
- 1/4 W (0.25 Watt) 5% Carbon Film Resistors
- 1/2 W (0.5 Watt) 5% Carbon Film Resistors
- 1% Metal Film Resistors 1/4 Watt (0.25W)
- 2 Watt 5% Carbon Film Power Resistors
- 3 Watt 5% Wire-Wound Resistors
- 5 Watt 5% Wirewound Resistors
- 10 Watt 5% Wire-Wound Resistors
- 14 Watt 5% Wirewound Resistors
- 100W Wirewound Resistors
- Low Ohmic 1/4 Watt (0.25W) 5% Resistors
- Fusible 0.25 Watt 5% Metal Film Resistors
- Fusible 0.75 Watt 5% Metal Film Resistors
- Thermistors
- Metal Oxide Varistors
-
Resistors: Variable (Potentiometers & Presets)
- Wirewound Potentiometers 5 Watt
- 16mm Single Pots with Splined Spindle - Lin & Log
- 16mm Dual Ganged Pots with Splined Spindle - Lin & Log
- 24mm Single Control Pots with Straight Spindle + Flat - Lin & Log
- Dual Ganged Control Pots with Straight Spindles - Lin & Log
- 9mm Potentiometers - Single, Dual & Switched
- Other Precision & Wirewound Potentiometers
- 20 Turn Cermet Precision Presets 9.5mm (0.375")
- Presets Fully Enclosed 10mm Carbon 0.15 Watts
- Presets, Fully Enclosed 15mm Carbon 0.25 Watts.
- 20 Turn Cermet Precision Presets 19mm (0.75 Inch)
- Slider Pots Mono with 60mm Travel
-
Semiconductors: Transistors, Diodes, Thryristors, Triacs, ICs etc
- Bridge Rectifiers
- Diodes
-
ICs - Integrated Circuits
- 4000 CMOS ICs (CD, HCF, HEF etc)
- 74 Standard TTL DIL
- 74C CMOS DIL ICs
- 74ACT, 74ALS & 74F Fast TTL Logic
- 74H High Speed & 74L Low Power TTL
- 74HC Series High Speed CMOS Integrated Circuits
- 74HCT, 74HCU Series TTL CMOS Integrated Circuits
- 74LS Low Power SCHOTTKY TTL DIL Integrated Circuits
- 74S Schottky TTL Integrated Circuits
- Integrated Circuits Base Numbers beginning from 1 to 9
- Integrated Circuits Base Numbers beginning with A & B
- Integrated Circuits Base Numbers beginning from C to K
- Integrated Circuits Base Numbers beginning with L
- Integrated Circuits Base Numbers beginning with M
- Integrated Circuits Base Numbers beginning from N to R
- Integrated Circuits Base Numbers beginning with S
- Integrated Circuits Base Numbers beginning with TA, TB, TC, TD
- Integrated Circuits Base Numbers beginning with TDA, TDB, TDE
- Integrated Circuits Base Numbers beginning from TE to Z
-
Transistors
- Transistor Base Numbers 1 to 2Nxxxx
- Transistor Base Numbers 2Sxxxx to 2SBxxxx
- Transistor Base Numbers 2SCxxxx to 2SDxxxx
- Transistor Base Numbers 2SJxxxx to 2SKxxxx
- Transistor Base Numbers 3Nxxx to 9xxxx
- Transistors Base Numbers AC to AUY
- Transistor Base Numbers BCxxxx to BDxxxx
- Transistor Base Numbers BFxxxx
- Transistor Base Numbers BGxxxx to Hxxxx
- Transistor Base Numbers Ixxxx
- Transistor Base Numbers Jxxxx to Zxxxx
- Triacs & Thyristors (SCRs)
- Voltage Regulators Positive & Negative
- Voltage Regulators Variable
- Speakers, Speaker Hardware & Crossovers
- Switches
- Test & Measuring Equipment
- Tools, Workshop & Laboratory Equipment
- Transformers (Chassis Transformers Signal & Mains)
- TV & Radio Aerials, Aerial Amps & Accessories
- Valves & Valve Bases (Vacuum Tubes & Sockets)


