The cookie settings on this website are adjusted to allow all cookies so that you have the very best experience. If you continue without changing your cookie settings, we'll assume that you are happy to receive all cookies on our website. However, if you would like to, you can change your settings at any time using the Change cookie settings link in the Special menu. 
    
 
+44 (0)20-84520161 Contact Us
Now FREE Delivery on UK mainland orders over £30+VAT

Fuse holder for Blade Fuse (Vehicle Fuses)

  • Details

  • Recommended

  • Send

Details

Item Number
FHBLADE
Item Condition
New
Price
£1.35 (inc VAT £1.62)

Options

Quantity


  • IEC Mains Chassis Male Receptacle

    IEC Mains Chassis Male Receptacle

    High Quality Euro Mains 3 pin Male Chassis Plug Inlet

    Fits IEC C13 Mains Line Socket (EULS)

    EUCP
    £1.50
  • 1000uF 16V Radial 105 deg Capacitor

    1000uF 16V Radial 105 deg Capacitor

    1000uF 16V Radial Electrolytic 105C High Temperature, Low Leakage, Tol ±20%

    1000H16
    £0.25
  • 32mm Panel Fuse Holder

    32mm Panel Fuse Holder

    Panel Fuseholder for 32mm 1.25 inch (1¼") fuses wth Screw Cap & Solder tags

    For 6.3mm x 32mm fuses

    Max Rating: 250V 10A

    M15 nut. 15mm cut-out

    FU32P
    £2.50
  • 62 ohm 1% Metal Film 1/4 Watt Resistors Pack of Ten

    62 ohm 1% Metal Film 1/4 Watt Resistors Pack of Ten

    Metal Film Resistor 1% Tolerance 1/4W 250V max 62 ohms. 10 pack

    M62R
    £0.50
  • Red Top Push to Make Miiniature Switch

    Red Top Push to Make Miiniature Switch

    Miniature Push to Make, Release to Break Switch

    125VAC 500mA, With 2 Solder Tags.

    Dimensions 27.5mm long, 9.7mm diameter. 7mm nut.

    Red Button

    PTM1R
    £0.65
  • PL259 UHF Female to BNC Male Adaptor

    PL259 UHF Female to BNC Male Adaptor

    Adaptor: PL259 (UHF) Socket (Female) to BNC Plug

    UHF Male (PL259) to BNC Female.

    UBP
    £2.25
  • Standard Toggle Switch Single Pole On Off 250VAC 1.5A

    Standard Toggle Switch Single Pole On Off 250VAC 1.5A

    Toggle Switch Standard Size SPST On / Off

    Rated at 250VAC 2A.Body Dims: L:25mm H:14mm W:14mm. 2 Solder Terminals

    Panel cutout 12mm 

    Rated 1.5A 250VAC

    Contact resistance 50mΩ max.

    Dielectric strength 1000VAC/1min


    TL10N
    £1.50
  • Waterproof Digital Temperature Probe for Arduino DS18B20

    Waterproof Digital Temperature Probe for Arduino DS18B20

    Waterproof digital temperature probe for Arduino and other microcontroller projects

     
    This probe has a DS18B20 digital temperature IC inside a waterproof probe. It will give you a digital output that will vary depending on temperature.
     
    Voltage : 3.3 to 5VDC
    Temperature : -55C to 110C
    Length : 1M

    Example project: 
     

    DS18B20 High Accuracy Digital Thermometer.

     
    This DS18B20 digital thermometer is extremely useful as a tool for measuring temperature for all kinds of different applications. It has a very wide temperature range (-55°C to 110°C) and high accuracy, especially at temperatures between -10°C to 85°C.  In this project, we will be using an Arduino to read the temperature from the probe and display it on an LCD screen equipped with a KY1602 module.
     
    Here’s what you will need: 
     
    Tools
     
    Components

    Libraries

    Step 1
    First, you will need to connect the probe to the breadboard. This should be easy to do since the probe comes with pre-tinned leads. Simply push the ends of the leads into the breadboard sockets and use a 4.6kΩ pull-up resistor on the data pin as shown in fig.1. Now, you will need to connect the Arduino to the breadboard. Use the jumper leads to connect the male to male jumper leads to connect the power, ground and digital pin to the breadboard. 
     
    Step 2
    Solder the KY1602 module onto the 1602 LCD screen. Pin 1 on the KY1602 module is the one closest to the 4 data and power pins. Once soldered, you can now connect the LCD display to the Arduino as shown in fig.1:
     

    Fig. 1


    Step 3
    Connect the Arduino to your computer and install the libraries mentioned above. If you need help installing the libraries, CLICK HERE for a quick tutorial.
     
    Step 4
    You can now start writing the code to get this all working: 


    First, clear the IDE window. Then, include the aforementioned libraries:
    
    #include <DS18B20.h>
    #include <LCD_I2C.h>


    Initialize the KY1602 I2C LCD driver (address 0x27 in this example) and specify the LCD display (in this case 16 characters, 2 rows):
       
    DS18B20 ds(12);
    LCD_I2C lcd(0x27, 16, 2);


    Initialize the LCD display and turn on the LCD backlight. This is done inside the void setup function:
       
    void setup() {
    lcd.begin();
    lcd.backlight();
    }


    Start a while loop. This is done inside the void loop function:
       
    void loop() {
    while (ds.selectNext()) {


    Set the cursor to the first character and display the temperature in ºF and ºC:
       
    lcd.setCursor(0,0);
      lcd.print(ds.getTempC());
      lcd.print((char)223);
      lcd.print("C");
      lcd.setCursor(0,1);
      lcd.print(ds.getTempF());
      lcd.print((char)223);
      lcd.print("F");
      }


    Choose how often to update the screen (in this case, 800ms):
       
      delay(800);
    }


    The completed code should look like this:
       
    #include <DS18B20.h>
    #include <LCD_I2C.h>
    
    DS18B20 ds(12);
    LCD_I2C lcd(0x27, 16, 2);
    
    void setup() {
      lcd.begin();
      lcd.backlight();
    }
    
    void loop() {
      while (ds.selectNext()) {
      lcd.setCursor(0,0);
      lcd.print(ds.getTempC());
      lcd.print((char)223);
      lcd.print("C");
      lcd.setCursor(0,1);
      lcd.print(ds.getTempF());
      lcd.print((char)223);
      lcd.print("F");
      }
      delay(800);
    }


    Step 4
    Press the “Upload” button at the top (button with tick, located below “File”). The IDE will now compile the code and upload it to your Arduino (this will take a few moments).
     
    Step 5
    Done! If the connections are correct and there are no errors with the code, the LCD should display the temperature. 
     
    DS18B20
    £3.50
  • Buck Converter DC-DC Step Down 3A Voltage regulator

    Buck Converter DC-DC Step Down 3A Voltage regulator

    3A DC-DC Step Down Voltage Regulator (Buck Converter)

     
    This tiny step down voltage regulator uses high frequency switching to make a very efficient DC-DC converter. It can take 4.5V to 28V and lower it to between 0.8V and 20V at up to 3A (output). The voltage is set with the small in built potentiometer.
     
    Voltage in : 4.5V - 28VDC
    Voltage out : 0.8V- 20VDC
    Switching Frequency : 1 - 1.5MHz
    Maximum Output Current : 3A
    Dimensions : 22mm x 17mm
    BCD3A
    £2.50

Send to Friend

: *
: *
: *
Type the characters you see in the picture:


*

High Quality In Line Blade Fuse Holder for Cars and other Vehicles.

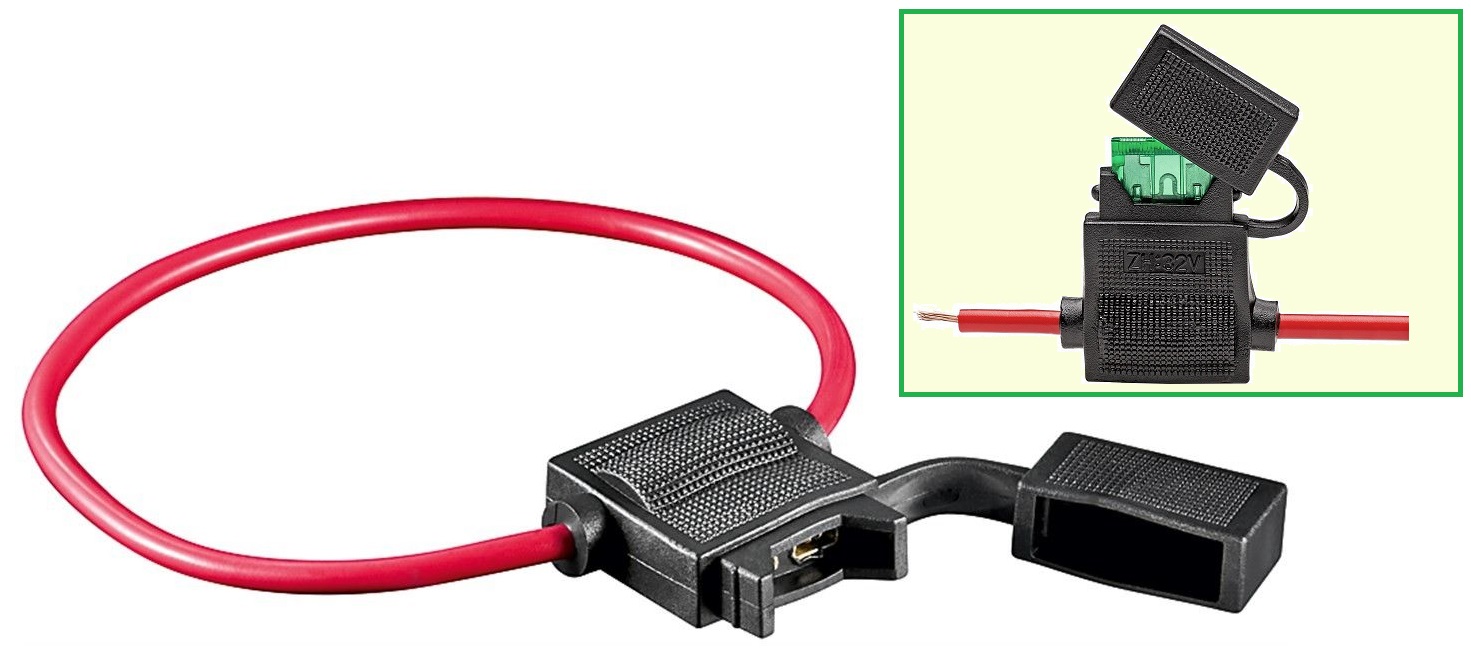
Complete with Short Red Cable, and housing cover 

  • Reccomended for cars, lorries, boats, trucks etc.
  • Completely encapsulated housing

Bestsellers

Recently Viewed


Trustpilot