The cookie settings on this website are adjusted to allow all cookies so that you have the very best experience. If you continue without changing your cookie settings, we'll assume that you are happy to receive all cookies on our website. However, if you would like to, you can change your settings at any time using the Change cookie settings link in the Special menu. 
    
 
+44 (0)20-84520161 Contact Us
Now FREE Delivery on UK mainland orders over £30+VAT

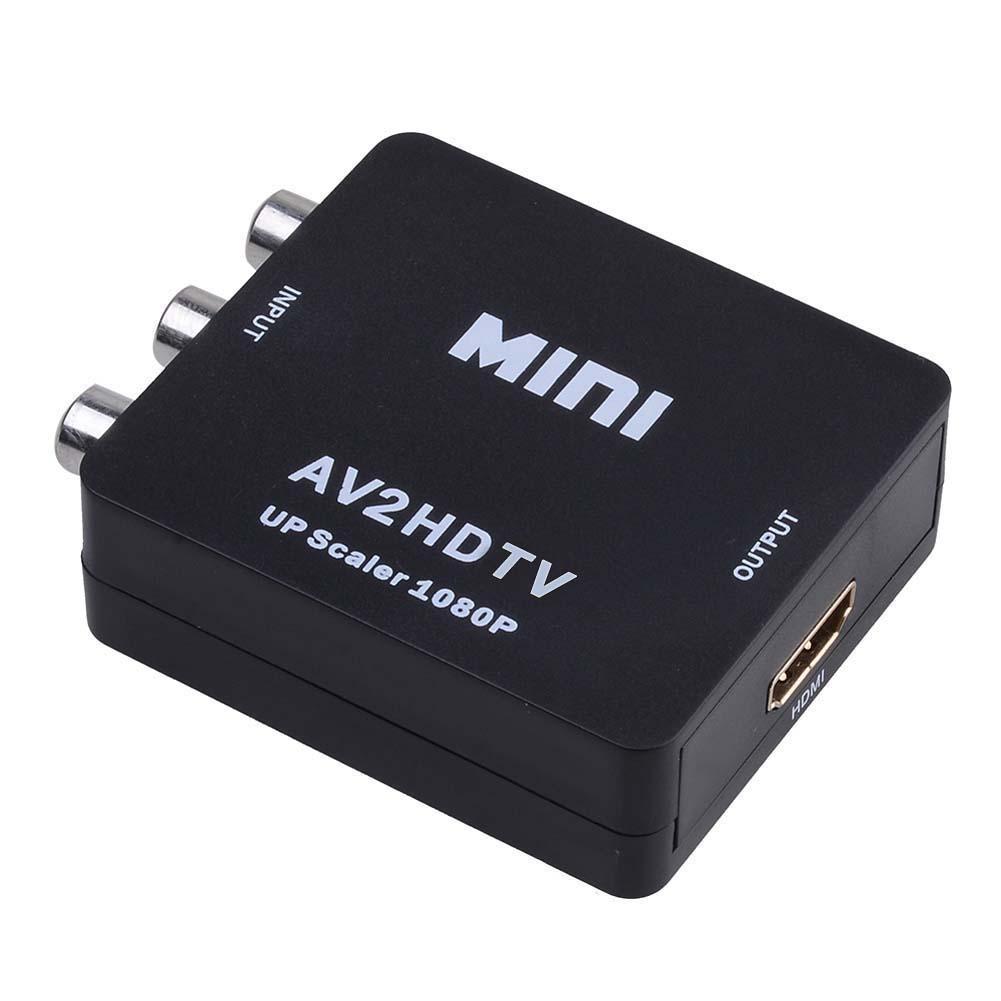
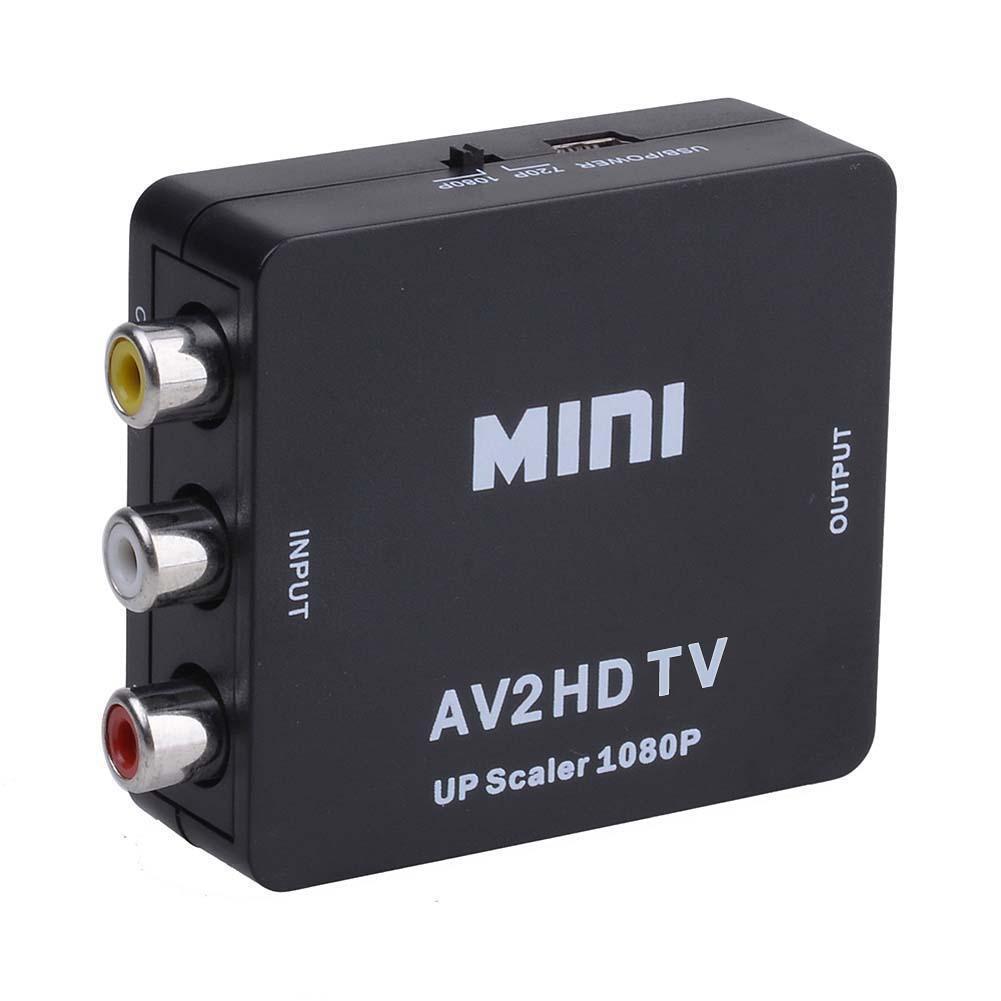
Composite Video and Audio (RCA) Input to HDMI Output Converter Upscaler

  • Details

  • Recommended

  • Send

Details

Item Number
COMHD
Item Condition
New
Price
£15.00 (inc VAT £18.00)

Options

Quantity


  • Ultrasonic Ranging Module for Arduino

    Ultrasonic Ranging Module for Arduino

    Ultrasonic ranging module for Arduino and other microcontroller projects

     
    This is a module with a 40kHz ultrasonic transmitter / receiver pair mounted on the front of a small PCB, with the required control circuitry on the back.
    It sends a short 40kHz square wave out, and calculates the distance by recording the time it takes the wave to return to the sensor.
     
    Voltage : 5VDC
    Working Range : 20mm to 4500mm
    Accuracy : 2mm


    Example project: 

     
    HC SR04 Distance Measurement Tool
     
    This article will demonstrate how to build a simple distance measuring device using the HC SR05 ultrasonic sensor board. This project can be used standalone as a way of measuring short distances or, it can be incorporated into other projects that require distance measuring. This sensor works best when the two transceivers are parallel to a solid surface, at a distance between 2cm to 450cm. 
     
    Here’s what you will need:
     
    Tools
    Step 1
    First, you will need to connect the HCSR04 sensor to the Arduino. Simply use the male to female jumper leads to connect the two together as described below and in fig.1:

    HCSR04                                      Arduino
    VCC-----------------------------------------5V
    Trig------------------------------------------D3
    Echo----------------------------------------D2
    GND---------------------------------------GND
     
    Step 2
    Solder the KY1602 module onto the 1602 LCD screen. Pin 1 on the KY1602 module is the one closest to the 4 data and power pins. Once soldered, you can now connect the LCD display to the Arduino as shown in fig. 1.


                                                                                   fig. 1


    Step 3
    Connect the Arduino to a computer and install the libraries mentioned above. If you need help installing the libraries, CLICK HERE for a quick tutorial.
     

    Step 4
    You can now start writing the code to get this all working:


    First, clear the IDE window. Then, include the aforementioned libraries:
     
       
    #include <HCSR04.h>
    #include <LCD_I2C.h>


    Initialize the HCSR04 sensor. The numbers in the brackets correspond to the trigger and echo pins respectively:

       
    HCSR04 hc(3, 2);


    Initialize the KY1602 I2C LCD driver (address 0x27 in this example) and specify the LCD display (in this case 16 characters, 2 rows):

    LCD_I2C lcd(0x27, 16, 2);


    Begin the void setup function. Initialize the LCD screen and turn on the backlight:

       
    void setup()
    {
      lcd.begin();
      lcd.backlight();
    }  


    Begin the void loop function. Set the cursor to the first character:

    void loop()
    {
        lcd.setCursor(0,0);


    Print the distance calculated by the sensor on the LCD screen:

        lcd.print(hc.dist());


    Add 100ms delay:

    delay(100);                
    }


    The completed code should look like this:

    #include <HCSR04.h>
    #include <LCD_I2C.h>
    
    HCSR04 hc(3, 2);
    LCD_I2C lcd(0x27, 16, 2);
    
    void setup()
    {
      lcd.begin();
      lcd.backlight();
    }
    
    void loop()
    {
        lcd.setCursor(0,0);
        lcd.print(hc.dist());
        delay(100);                
    }


    Step 5
    Press the “Upload” button at the top (button with tick, located below “File”). The IDE will now compile the code and upload it to your Arduino (this will take a few moments).
     
    Step 6
    All done! The LCD will now start to display the distance calculated by the sensor.


    HCSR04
    £2.50

Send to Friend

: *
: *
: *
Type the characters you see in the picture:


*

AV to HDMI converter

Upscales standard Definition video & audio to HD (HDMI) to 720P or 1080P (Switchable).

Connects older equipment without a HD output to a modern HD TV.

USB powered. 

Supported Inputs: NTSC 480i or PAL 576i

Selectable Outputs: 720P or 1080P


Package Contents
HDMI converter
USB cable


Trustpilot